Pages

Wednesday, March 28, 2012

Bird Nest Crunchies

So as most of you know this idea is swarming the internet right now.  I was on the fence even posting, but I figured it's a classic to have on my list... so here it goes!


What You Need:
- 1 (11 oz) bag butterscotch morsels
- 1 (11 oz) bag chow mein noodles
- Reese's Pieces chocolate eggs
(or Cadbury Mini chocolate eggs work fine)
- Wax paper

What To Do:
- Melt butterscotch morsels in a large mixing bowl in the microwave according to bag.
- Stir in chow mein noodles until coated.
- Using spoon, scoop onto wax paper in clumps and shape into bird nest.
- Place chocolate eggs in the middle.
- Cool about 10 minutes and done!


Tuesday, March 27, 2012

Easter Egg Wreath

As a young mom I am always looking for cheap ways to build my seasonal/holiday decoration collections.  I think displaying your child's art work is a perfect way to create a warm, loving atmosphere for any home.  Easter decor is definitely one department I am slacking in.  I came across this idea on allkidsnetwork and thought it was a perfect craft to do while in visiting my in-laws.  Okay, so it was definitely more time consuming than I realized and it took an entire 24 hours to dry, BUT all the work was worth it because it is SO cute!


What You Need:
- construction paper (variety of colors)
- large paper plate
- Easter grass
- yarn or decorative string (to hand the wreath)
- scissors
- white glue
- finger paint, glitter, buttons, stickers, etc...


The Prep:
(I'm all about being prepared to craft before you bring the kiddos to the table)

- Using scrap paper, cut out an egg shape to stencil about 12 eggs using a variety of consruction paper colors.  You want enough eggs to circle all around the outer edge of your paper plate.


- Cut the center out of your paper plate.


Craft Time!:
- Let the kids decorate each egg with paint, glitter, buttons, stickers (or whatever you prefer).


- Set eggs aside to dry.


- Tie a string around the plate for a hanger. 
- Drizzle a generous amount of glue around the edge of the plate.
- Cover with Easter grass and drizzle more on top to make sure it holds.


- Drizzle glue on the back of each egg and place around the plate.  Set aside and allow to dry overnight.


Your plate will feel flimsy at first, but once all the glue dries it will harden up and hang very nicely!  I used a LOT of glue to make sure everything held, and mine took almost 24 hours to dry. 


Thursday, March 22, 2012

Celebrate Spring Marshmallows!

With baby Levi now in the family, there's no doubt it is hard to find one-on-one time for Addy.  That's why I try to create quick activities that are fun and easy.  This is definitely one of them!  Once I got him settled for a nap, we ran to the kitchen and got started!

This literally came to me while standing in the baking aisle at Harris Teeter.  If other people have done this before, I don't know, but it seems so easy I'd be shocked if I'm the first.  Anyhow, I was letting Addy push the kid cart when she threw in a bag of marshmallows.  Now I usually do not buy whatever she wants at the store, but she was so excited I just went with it.  (Of course we swapped the brand name for the $0.99 store brand).  On a whim I grabbed my favorite baking chocolate and some "spring themed" sprinkles... and we were off!


What You Need:
- bag of large marshmallows
- chocolate candy coating
- festive sprinkles
- wax paper


What You Do:

- Melt your chocolate acccording to package.
(mine works well in the microwave and only takes 2 minutes)

- Get your sprinkles and marshmallows out and ready.

- Dip half of one marshmallow into the chocolate and lightly shake excess off.


- Then dip into sprinkles.


- Set on wax paper to dry.


- Once dry, flip over! 
Repeat until you have a bunch of these cute little things...


- Enjoy! :)


Be on the lookout for little hands trying to sneak one more :)


Celebrate Spring Marshmallows

Saturday, March 17, 2012

Shamrock Pancakes


The purpose of this blog is to share ways you can spend time with your children, accomplishing a craft, activity, or cooking... together.
This is easy and fun for the kiddos!

What you need:
- Your favorite pancake recipe or mix
- Green food coloring

I'm all for making my own whole wheat pancake mix, but when you're already
pulling out food coloring... why complicate things?? :)

What to do:

- Prepare pancake batter (as much as your family needs).
- Allow your child to drop in about 10 drops of green food coloring per 2 cups of mix.
- Stir.


- Using a small spoon, spoon about 1 tbsp of batter per clover leaf.
- With a little bit of batter make a stem.


- Flip.
- Enjoy!


Friday, March 16, 2012

Pinch Proof! - St. Patrick's Day Shirt & Bow

Tomorrow is the Rezac's annual St. Patrick's Day shindig, and we will definitely be attending with children in tow.  Anyone who has partaken in this annual event knows what craziness is typically unleashed as the green beer gets flowing.. therefore we will be arriving early and leaving as the sun sets.  Either way, we are super excited to see our best friends and their rocking fam!

This afternoon I realized, at the last minute, that Addison's green apparel selection is slim pickins.  Bummer (for my hubby)... because while finishing up lunch at Wegman's I decide to slightly alter our agenda and make a run to Michaels.  What started as a 5-minute run into the store turned into a 45 minute trip, which ended with Ryan changing a poopy diaper in back of our SUV and Addison sitting down in an aisle telling me 'she's tired'

After we returned home and got the kiddos' naps complete, the project started.  I saw the clover idea on inlieuofpreschool, turned it into a t-shirt and added a little more to it.  Here it is!


Pinch Proof T-Shirt


Materials:
- White T-Shirt
- Green fabric paint
- Black fabric paint
- Gold fabric paint
- One large marshmallow
- Small paint brush
- A few sheets of printer paper

Prep:
- Cut the marshmallow along the top, making a pot shape.
- Place black fabric paint and gold paint on paper plate. (see below)


- Place a few sheets of printer paper underneath the t-shirt, to avoid any paint from leaking through.

The Craft:

- Paint one of your child's hands with the green fabric paint.


- Help your child make four handprints, in the shape of a four leaf clover.


- Using the paint brush, allow your child to draw a line down from the clover to create a stem.

- Stamp one black pot in the center of the clover, using the marshmallow.

- Have your child dip their fingertips in gold paint, and dot above the pot creating "gold".


(I wrote "Pinch Proof above just for fun!)


St. Patrick's Day Bow

Materials:
- Two ribbons of your choice
- Glue gun and glue sticks
- Jewelry wire
- Hair clips
- Scissors
- Parchment paper


The Bow:
- Wrap ribbon around your hand as shown below, and cut.


- Pinch in middle and hold with jewelry wire.
In this picture I just clipped until later.


- Do the same for the second ribbon.
Here it is shown with jewelry wire holding the bow together.


- With the second ribbon, make a knot as shown.


- Using the hot glue gun, glue both bows together.  Place the knot on top and glue around the center.


- Clip the hair clip onto a piece of parchment paper.


- Use the hot glue gun to glue the entire blow to the clip.
- Allow to dry.
This will keep the clip from sticking together.


Addison all dressed up for the party!


Thursday, March 15, 2012

The Three Little Pigs - Storytime Craft

What's one more "bad guy" added to the list?  We already spend our mornings, days, and nights running from monsters, witches, spiders, snakes, bears, crocodiles, evil trees, bees, that sneaky fox Swiper, and now... ((drumroll))...
The Big...
           BAD....
                W-O-L-F!!

Wolves are scary.  Wolves are BAD!!  Yes, this is the point Addison has made for weeks now.  We have read "The Three Little Pigs" over and over, and she is obsessed with that destructive wolf!  The bigger and badder an evil character is, the more she likes a story... and we can't deny that the Big Bad Wolf is pretty darn bad!  We have spent the past few weeks acting out "The Three Little Pigs", but of course Addy put her own twist on the story.  Instead of blowing down houses, she pretends to blow down babies.  Yes, babies.  She instructs me to lay down and pretend to be a sleeping baby.  Once I am snoring loudly, she Huffs... Puffs... and blows me (the baby) over!  Oh and I must not forget, at this point I am supposed to cry, loud.

Now I don't know why this game turned into blowing over babies.  Think it could have something to do with her innocent, three month old brother sleeping in the other room?? 

Guess we'll never know...

One morning, after Addy finished huffing, puffing, and blowing down her baby dolls, she sweetly turned to me and asked, "Mommy pleeeassee can we do a craft today?!?"  In this moment I snapped a picture..


So my wheels got turning and I came up with a storybook craft!  Here's the idea -- while reading "The Three Little Pigs", we would together build a house of straw, sticks and bricks.  Then Addy would be able to use her expert huffing and puffing skills and blow each one down, just as the Big Bad Wolf does in the story!  Perfect! 

The Three Little Pigs - Storybook Craft!

Materials:
- 3 brown lunch bags
- 1 sheet of red construction paper
- handful of straw
- small sticks (if weather permits, let your child collect these themselves!)
- school glue
- scissors
- 6 craft sticks
 
 
The Prep:
- Cut each brown bag about 5 inches from the bottom.
- Cut a door into the front of each house (see in picture above).
Now you will need to make the houses stable.
- Set aside two craft sticks for each house.
- Break one craft stick in half and glue to inner side wall of house.

- Glue the other half of the craft stick to the other inner wall.

- Glue the second full craft stick to the back.
(You can use additional craft sticks to make the front stronger, but it's not necessary.)

- Repeat for all three houses.
- Cut red construction paper into 1 inch x 1/2 inch rectangles.  These will be the bricks.
- Have your straw, sticks and glue ready.
 
 
The Storytime Craft:
- Read aloud "The Three Little Pigs" story.

- As each pig builds their house, have your child build their houses as well.  Just drizzle the glue on top of the house and cover with the building materials.  To really hold the straw and stocks in place, I drizzled more glue on top after we finished the book.


- Continue reading the story, and as the Big Bad Wolf blows down each house have your child blow the houses down!


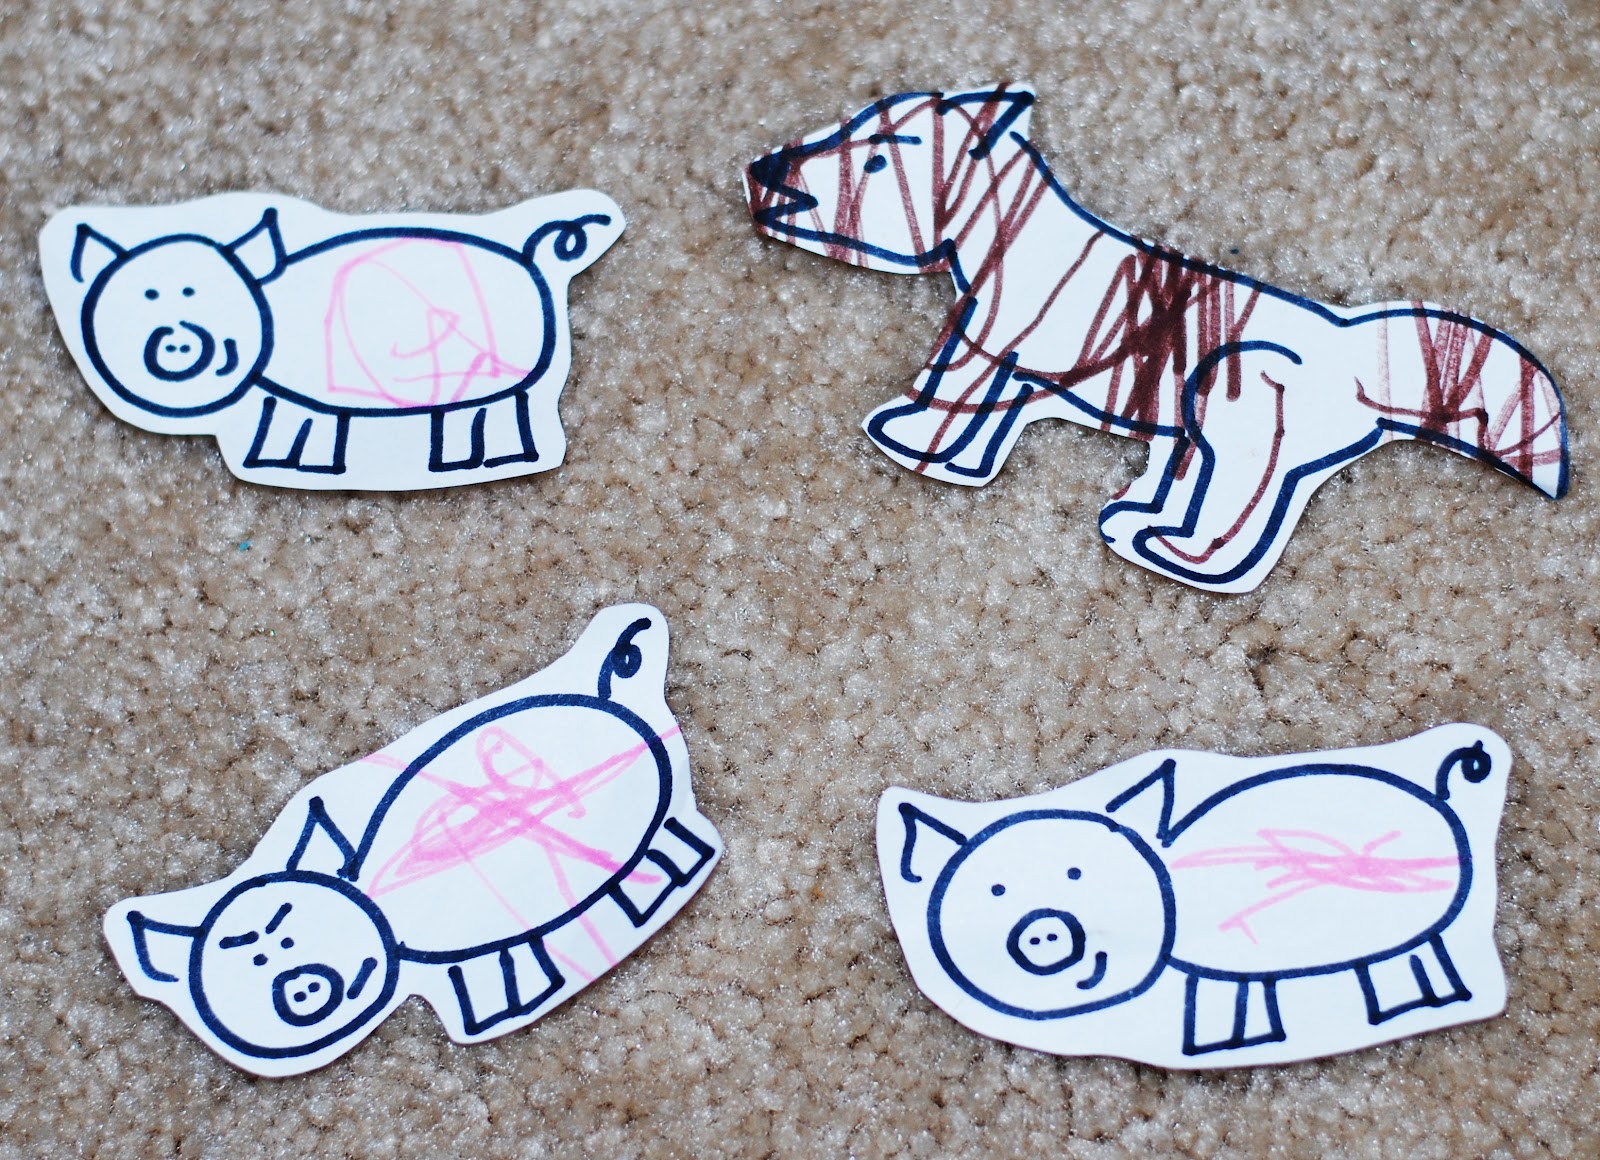
We had a lot of fun with these houses!  Addy still uses them to play with... and we even made cut out pigs and a wolf so she can act out the scenes.  I just drew each one and had her color them with a marker (nothing fancy).


Enjoy!

Wednesday, March 14, 2012

Simple and Sweet Butterflies

So as Addy would say, "I swiped this idea!".  Ok for those who do not know my daughter, she loves Swiper!  If you do not know who this is, you must not have children :)  In fact, she loves every villain.  Monsters, the big bad wolf, evil witches.. and yes, Swiper the Fox!  So back to the point... I saw this idea and had to try it -- here's the link: Paper Towel Butterflies  Wow, talk about E-A-S-Y! 

Yesterday the weather was absolutely gorgeous.  Low 70's, sunny, and a light breeze.  When I woke up and realized the weatherman was actually right about something, I immediately turned to an outdoor project.  Since the main ingredient for this fun craft was food coloring, um... immediately we go outside!
So here's the deal... you need four things:
  1. papertowels
  2. food coloring
  3. water
  4. pipe cleaners. 
              .... Yes, this project is so simple I even included water in the list of materials!

What to do:

Fill four small bowls with a few drops of food coloring and 1/3 cup of water.
Fold one sheet of papertowel four times making a small square (into 1/16).

Have your child dip each corner into the different colors.
(just hold for a second, it spreads quickly through the paper towel)


Unfold and lay out to dry. 
While drying, enjoy the outdoors...
... by practicing your soccer skills!
 

GOALLL!!

Ok, now back to your beautiful butterflies...

Once dry, bunch the center and secure with a pipe cleaner.


Recruit a handsome stud from nearby to string your butterflies up with fishing wire...
(luckily mine just happens to be my husband!)


.. and enjoy!
*Idea -- we hung ours around the deck umbrella and had a picnic underneath them!