This one I have had on my list for months... finally went to Michaels and got the stuff. Addison absolutely loves the weather wheel, and comes down each morning to look outside and turn the arrow. Success!

Materials:
- 16x16" piece of cardboard or larger
- large sheet of felt for background (I used black)
- sheets of foam in multiple colors (light & dark blue, yellow, white, gray)
** I used felt, realizing later foam would be MUCH easier
- 1 small sheet felt for arrow (Addison picked green)
- 1 large brad
- permanent marker (medium tip)
- scissors
- liquid glue or a glue gun
- ribbon
What To Do:
1. First using a circular pizza sheet, trace a circle on the cardboard and cut out.
2. Next, using the cardboard cut-out, trace a circle on your large felt sheet and cut out.
3. Glue felt circle on top of cardboard circle, mark the center.
(Sorry there are not picture steps... I hadn't realized yet that my memory card was not in my camera!)
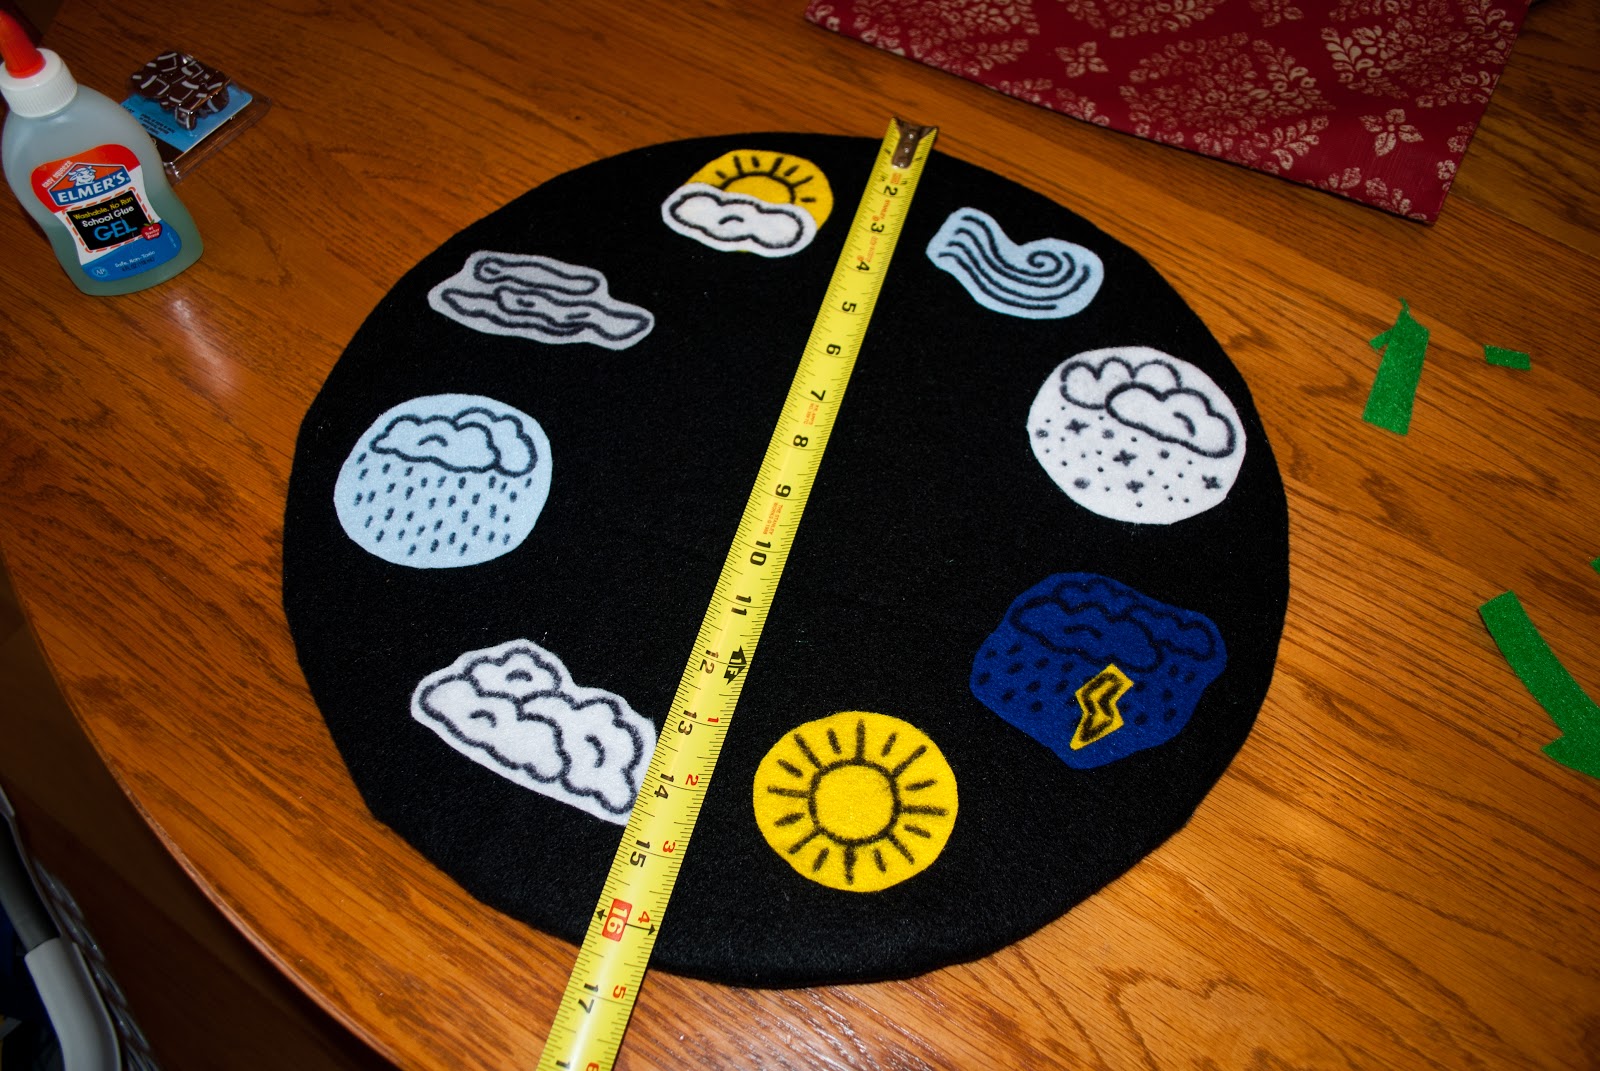
4. Next, draw pictures for each weather scenario approximately 3x3" and one arrow 3-4" long.
(Sunny, Partly Sunny, Cloudy, Raining, Snowing, Foggy, Windy)

**It was hard to draw on felt, I seriously recommend doing the weather pictures on foam :)
5. Using measuring tape, find the center of your circle. Mark it!
6. Using scissors, poke a hole through the center and loosely pin end of arrow with brad.
(Yes, Addison picked a football one to use... so I rolled with it)

7. Glue weather pictures evenly around circle.

8. Cut hole and top and pull ribbon through. Allow to hang a few inches then tie bow at top.

9. Hang from window or wall!
Enjoy!
No comments:
Post a Comment